A crimping applicator sample approval trial should show whether a defined terminal, wire, applicator and press configuration can produce connections that meet your documented requirements. A neat-looking sample is useful, but it is not a complete acceptance record.
This guide explains what to send, what to inspect and what to record before releasing a setup for production. If you are still comparing tooling configurations, start with our crimping applicator selection guide.
1. Define the connection before requesting samples
Identify the terminal by manufacturer and exact part number, including the relevant drawing revision. Specify the wire construction, conductor size, strand arrangement and insulation dimensions. Two wires with the same nominal conductor area may require different application checks.
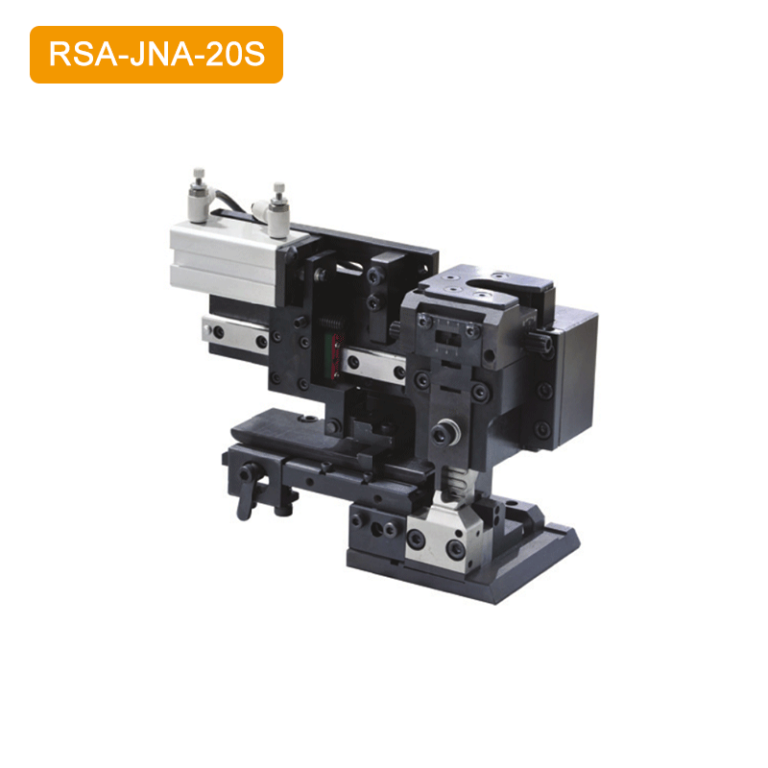
Provide representative production materials. Identify any substitutes clearly rather than treating them as equivalent. Include the press model, stroke, mounting interface, shut-height requirements and terminal feed arrangement so the supplier can review the complete setup.
State what the trial must establish: initial fit, a replacement-tooling evaluation, changeover performance or repeatability under agreed conditions. Each objective requires a different record.

2. Agree the acceptance basis before making samples
Use the applicable terminal manufacturer’s application specification, approved drawings and customer requirements. Record the document revisions and identify who can approve deviations. Avoid adopting a generic crimp height or pull-force value from an unrelated terminal.
TE Connectivity’s crimp quality guidance directs users to the relevant application specification for contact-specific crimp-height tolerances. Its guidance is technical background, not an endorsement of RS Automation tooling.
| Trial record | What to agree |
|---|---|
| Materials | Terminal part number and lot; wire identity and lot |
| Configuration | Press, applicator, tooling identification and settings |
| Acceptance | Applicable documents, limits and inspection methods |
| Sampling | Sample quantity, collection stages and identification |
| Disposition | Approver, unresolved issues and retest conditions |
3. Inspect preparation and positioning
Inspect wire stripping and terminal presentation before adjusting the tooling. Check for damaged or missing strands, insulation entering an unintended area and terminal positioning that differs between cycles. Review strip length, conductor position, insulation support and cut-off features against the applicable terminal requirements.
Record the observation before making an adjustment. Changing wire preparation and applicator settings together makes it harder to identify which change affected the result. Make controlled changes and preserve the corresponding sample identities.
4. Use complementary checks
Visual inspection
Use the specified inspection method and magnification. Compare samples with the approved requirements rather than relying on appearance alone. Record relevant observations with photographs that identify the sample and viewing direction.
Crimp height
Measure at the specified location using the appropriate instrument and method. Record individual results, not only an average. An applicator’s adjustment increment is a tooling feature; it does not establish the accuracy or capability of the finished connection.
Pull testing
Follow the required preparation, clamping, test speed and acceptance method. Record both the measured result and the failure mode. Keep destructive-test samples separate from usable production parts.
Cross-section analysis
When required by the approval plan, use prepared sections to examine the internal geometry. Confirm who prepares, measures and interprets them. A report for one wire-terminal combination does not automatically approve other combinations.
Choose complementary methods because they answer different questions. TE’s discussion of crimp-height measurement explains that height alone cannot distinguish all process variation. Agree the inspection plan for your application.
5. Check repeated setup, not just a selected good sample
A selected sample demonstrates one outcome. To evaluate repeatability, agree how samples will be collected during a representative run and after relevant setup changes. Include normal feeding, material handling and operator activities in the trial boundary.
If changeover is a purchasing concern, observe the removal, installation, adjustment and first-piece inspection process. Distinguish a successful sample trial from a statistical capability study; the latter needs an agreed sampling and analysis plan.
6. Release a documented configuration
The approval package should connect inspection results to the exact materials and tooling used. Record accepted settings, reference samples, inspection methods and outstanding actions. Define when first-piece inspection or renewed approval is needed, such as after relevant material changes, tool replacement or process adjustments.
Do not copy accepted settings to another machine without reviewing the application. Follow the equipment instructions for setup and maintenance, and use trained personnel for tooling changes and trials.
What to include in your inquiry
Send the terminal drawing and part number, wire specification, press details, production objective and acceptance documents. Tell us whether you need sample preparation, measurement records or a specific reporting format.
Explore our crimping applicators and tools, or contact RS Automation about your sample approval requirements. Compatibility and the scope of testing must be confirmed for the proposed configuration.